Hello bowling fans,
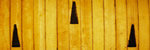
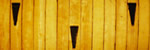
If you read my history page, you will know that I grew up bowling at the local lanes with those AMF Magic Triangle ModIV masking units with those light up Pindicators that told you what pins were left standing. I decided to design and build one of those for my lane as a tribute. I still have to finish the actual wall of the masking unit but the Magic Triangles are complete!
Now mine aren’t an exact copy of those (no first and second ball or strike indicators) but they are very similar, with some individuality and personality mixed in.
So without further delay here are the pics:
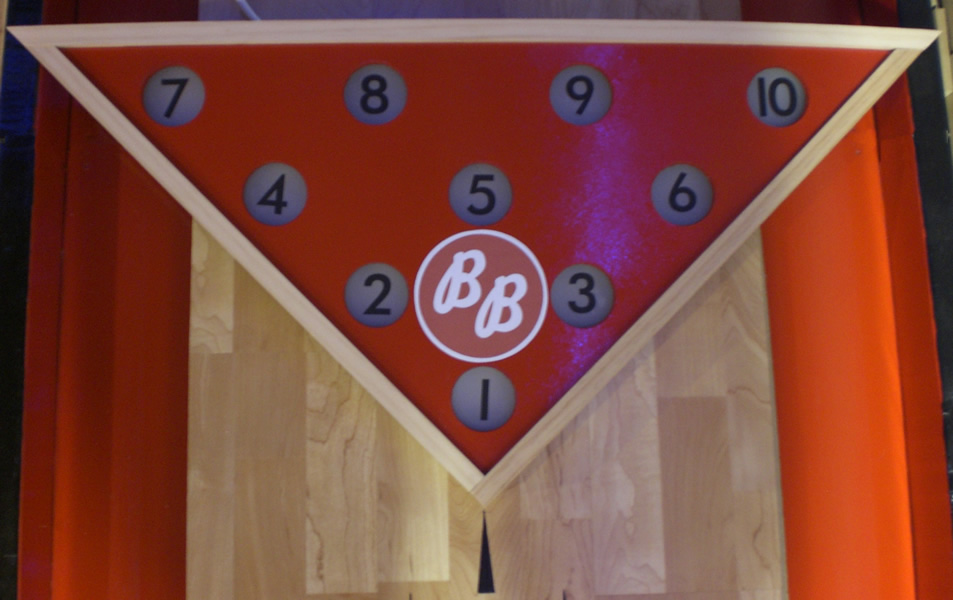
Lights off:
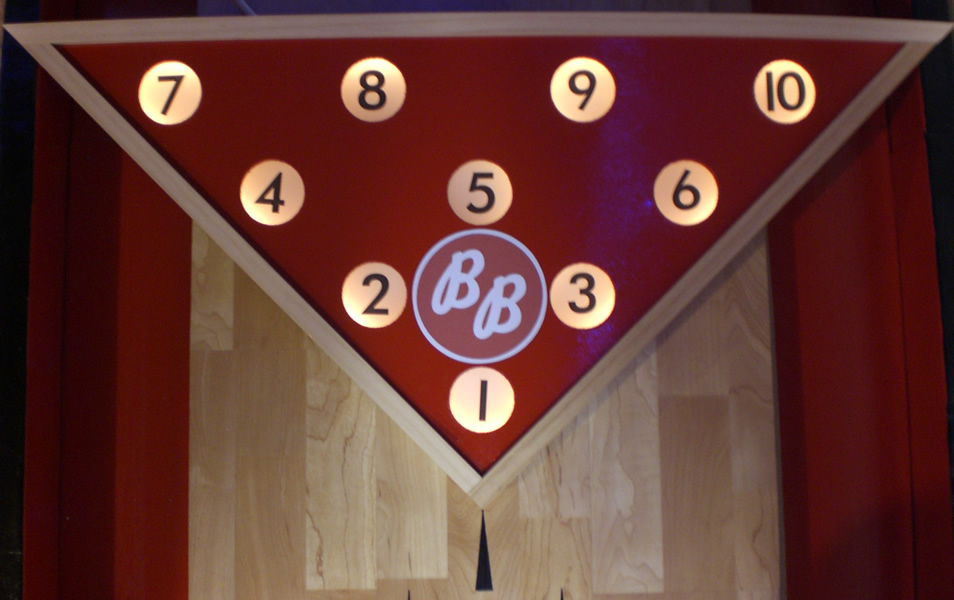
Lights on:
I’m really happy about how it turned out. It will certainly add to the nostalgia of the bowling lane area in the basement. I want to continue to slowly expand the decor around the lane downstairs until we have a nice retro bowling area. Eventually I would love to have the Pindicators actually work the way they were meant to, but that will be a future project. For now it will just light up and I will look at it and smile every time I roll one down the lane. 🙂
Here’s how I made it. The outside frame is made of pine 1x2s. I routed a groove on the inside of them that is wide enough for the MDF and acrylic sheet to slide into. The red you see is 1/4″ MDF with a couple coats of red paint and a couple coats of polyurethane. The acrylic sheet rests just behind the MDF. I searched for the right font and tweaked it a bit (to try and match the original Pindicator font) and printed the numbers on self-stick clear matte paper and stuck them on the front of the glass and behind the MDF. I used a 6 foot rope light inside and I took another piece of 1/4″ MDF, painted the inside white (to make the inside lights a little brighter) and attached it to the back of the unit. Finally I printed my Basement Bowling logo on sticker paper and stuck it on the front. Done and done.
In other news I did redo the pit area. It is no longer flat, it now slopes away from the bowler. Hopefully this will prevent the ball from occasionally rebounding back onto the lane when it is rolled very hard. I’m still finishing that up though, I got distracted/hypnotized by the Magic Triangle and wanted to finish it. 🙂
I also wanted to let you know that I added 3 new pinsetter pics to the gallery. It will give some more detail about my previous blog entry about the pinsetter.
That’s all for now, thanks for reading.